Analyzing Common Process Parameters in Laser Welding
What if you could weld metals with precision and efficiency that traditional methods can't match? Laser welding offers exactly that.…
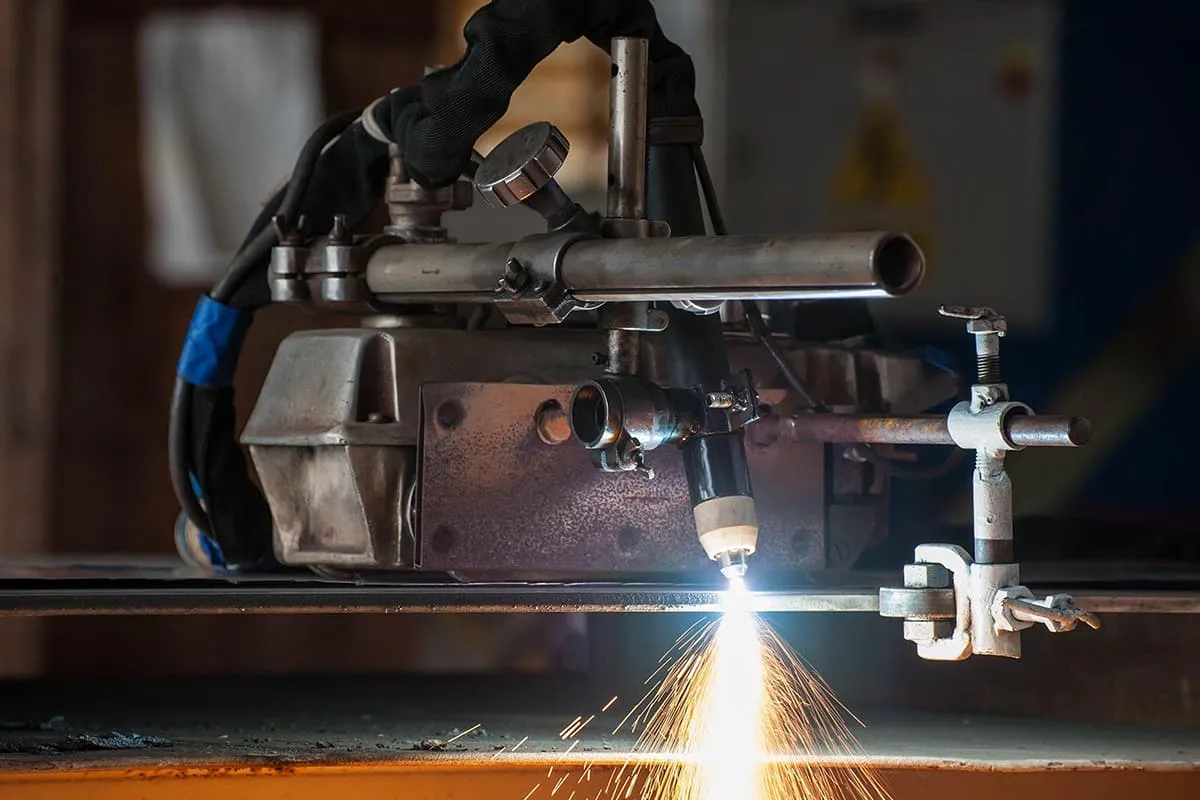
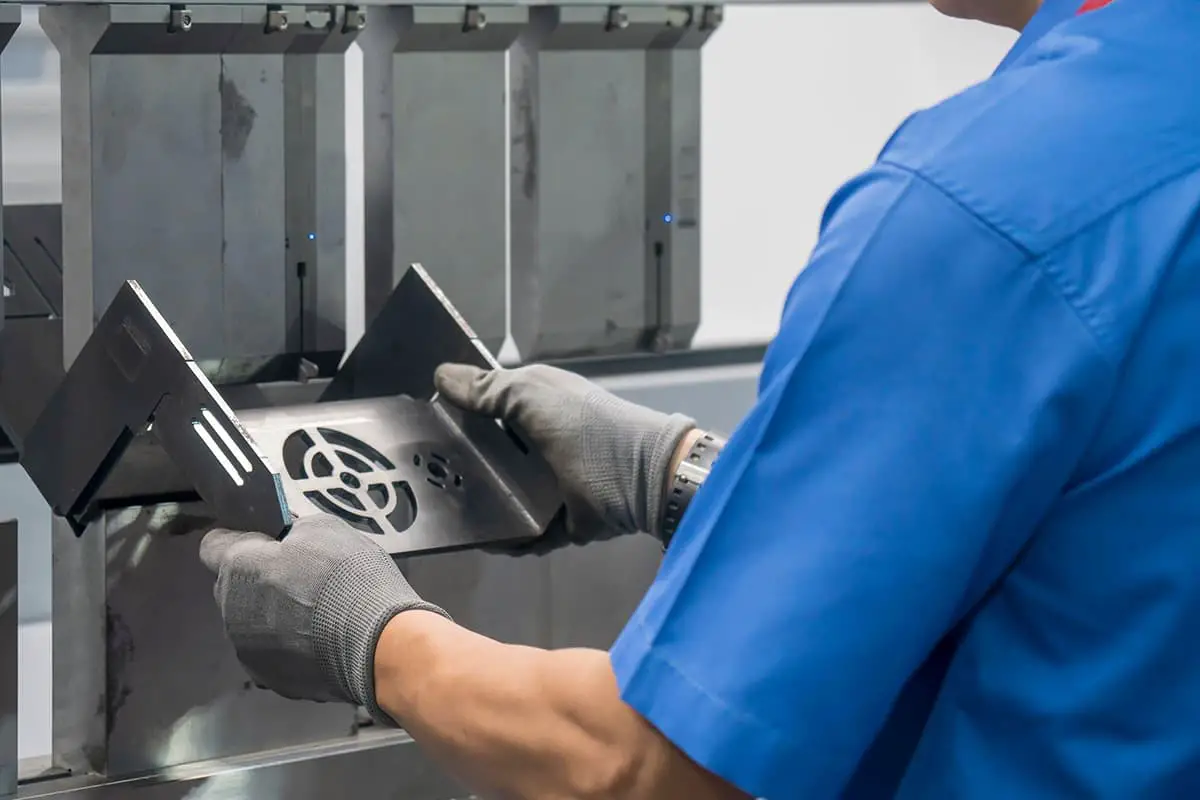
Have you ever wondered how to use a plasma cutting machine effectively? This guide walks you through the essential steps, from setting up the equipment to executing precise cuts. You’ll learn about safety precautions, necessary preparations, and troubleshooting common issues. By the end, you’ll be equipped with the knowledge to operate a plasma cutter like a pro, ensuring clean and accurate results every time. Whether you’re a novice or looking to refine your skills, this article provides valuable insights into mastering plasma cutting techniques.


Use and operation of the air plasma cutter:
(1) The equipment should be placed in a dry, clean, and well-ventilated area.
(2) The equipment should be protected by a ground connection, that is, the shell part is connected to the neutral wire in the three-phase four-wire system (products with power plugs are internally connected at the time of factory production).
(1) Preparation for operation:
1) Check that the external power supply is correct.
2) Check that the workpiece ground wire is clamped to the workpiece.
3) Connect the air source and discharge the accumulated water.
4) Check that the power switch is in the off position.
5) Close the main power supply switch of the power grid. At this point, the fan starts working. Pay attention to check the wind direction, the wind should blow inward. Otherwise, the main transformer will not get ventilated cooling, which will shorten the working time.
6) Flip the power switch on the panel to the “ON” position, and the power indicator light will be on. At this point, compressed air should flow out from the torch. Pay attention to whether the filter pressure reducing valve pressure gauge pointer is in the 0.2-0.4 megapascal position. If the pressure is not aligned, under the condition of gas flow, adjust the upper knob of the filter pressure reducing valve pressure gauge. Turning clockwise increases the pressure, and vice versa.
7) Allow the gas to circulate for a few minutes to remove the condensation from the torch.
1) The torch touches the workpiece and cuts as soon as the button is pressed. You can start cutting from the edge of the workpiece or any point on the workpiece when the plate thickness is not large. The torch can be vertical to the workpiece or slightly tilted to one side, but when opening in the middle of the workpiece, the torch should be slightly tilted to one side for blowing off the molten metal and cutting through the metal.
2) Press and hold the handle button to keep the main circuit on, at the same time, the high-frequency oscillator works until the cutting arc is formed, then the high-frequency oscillator stops working. Afterwards, you can rely on the movement of the torch for cutting. At the same time, the cutting indicator light is on.
3) When cutting, you must cut through the metal before moving uniformly, otherwise, the nozzle will be damaged. Moving too fast or too slow will affect the cutting quality.
4) Adjustment of cutting air pressure: If the cutting air pressure is too high and the flow rate is too large, it will affect the cutting thickness. If the cutting air pressure is too low, it will affect the nozzle’s service life.
5) Before lifting the torch away from the workpiece, you must release the handle button, at which time the plasma arc extinguishes, and the cutting process stops.
6) During the cutting process, if the torch is more than 2mm away from the workpiece and the arc is extinguished, you need to re-ignite the arc.
7) Due to the long connection working time causing the main transformer temperature to exceed 110℃, the thermal control protection switch will trigger, the equipment will automatically shut down and cannot start. You should wait for the transformer to cool down before restarting.
8) Regularly remove the accumulated water in the filter pressure reducer, i.e., rotate the screw at the bottom counterclockwise, after removing the accumulated water, tighten it. If the compressed air contains too much water, consider adding a filter valve between the filter pressure reducer and the air source, otherwise, it will affect the cutting quality.
9) When not cutting the workpiece, try to press the torch button as little as possible to avoid damaging the parts.
10) After all the cutting work is done, cut off the power switch and air source valve.
1) Incomplete cut:
a: The thickness of the plate exceeds the equipment’s application range.
b: Cutting speed is too fast.
c: Torch inclination is too large.
d: Compressed air pressure is too high or too low.
e: Grid voltage is too low.
2) Unstable plasma arc:
a: The torch movement is too slow.
b: Two-phase power supply, working voltage decreases.
c: Compressed air pressure is too high.